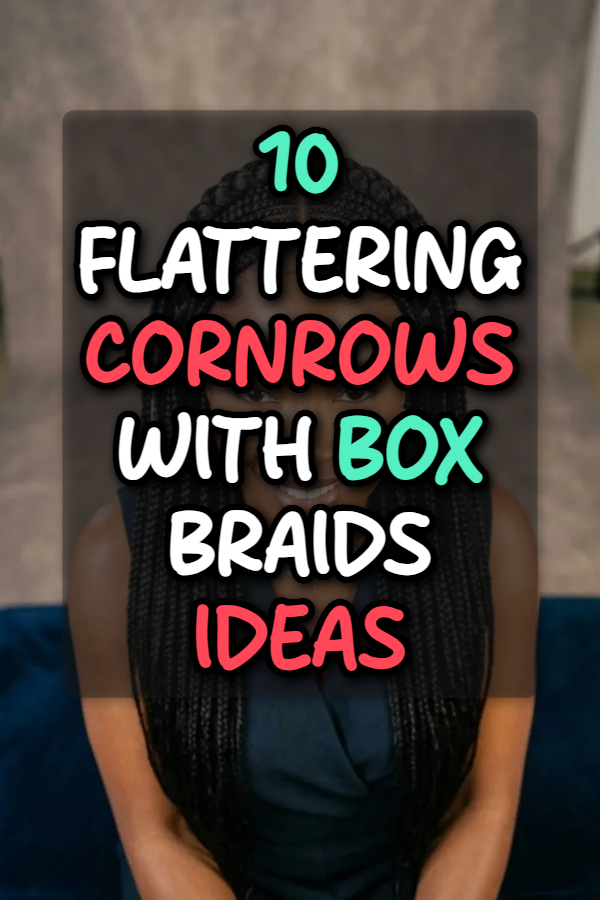
10 Cornrows With Box Braids Ideas

Combining sleek cornrows with full box braids creates a striking hybrid hairstyle that seamlessly merges precision scalp patterns with versatile cascading length. This long-form guide presents ten complete design concepts that blend both protective braiding techniques into cohesive, stylish aesthetics. Readers will explore step-by-step methods for executing clean parting structures, integrating extensions smoothly, and balancing hair weight across different sections of the scalp. The tutorial provides actionable planning strategies, detailed material lists, and structural styling rules suitable for both home braiders and professional hair care enthusiasts. Learning these foundational methods empowers individuals to craft long-lasting protective styles that preserve natural hair health while offering maximum visual impact. Whether seeking a dramatic half-up presentation or subtle side-swept accents, these structured Pinterest ideas provide clear, practical inspiration for every skill level.

Why This Idea Is Trending or Useful

Hybrid protective styles featuring cornrows and box braids have become highly popular across modern Pinterest boards because they deliver exceptional functional and aesthetic value. Combining flat scalp braids with free-flowing plaits reduces daily styling time significantly while offering endless opportunities for creative expression. From a design perspective, the contrast between geometric scalp lines and long, moving extension braids enhances the overall texture and dimension of the hair. This approach serves as an ideal DIY creative project for beginners who want to practice fundamental cornrowing without committing to an entire head of intricate scalp work. Furthermore, securing sections into flat cornrows protects vulnerable edges and reduces overall friction on natural hair. By integrating these trending ideas into a protective hair routine, individuals achieve an elegant, durable hairstyle that adapts effortlessly to both professional environments and casual daily activities.

Materials and Preparation

Thorough preparation ensures a smooth, efficient installation process and protects natural hair strands from unnecessary mechanical stress. Essential tools and materials include three to five packs of pre-stretched synthetic or human braiding hair, a rat-tail parting comb, hair sectioning clips, edge control gel, a misting spray bottle filled with leave-in conditioner, and lightweight scalp oil. Begin by thoroughly washing, deep conditioning, and gently blow-drying the natural hair on a low heat setting to stretch the fibers for easy manipulation. Map out the intended parting geometry on paper or mentally prior to sectioning, designating clear boundaries between the cornrowed areas and the box-braided sections. Pre-partitioning synthetic extension hair into equal bundles accelerates installation speed and maintains consistent braid thickness throughout the head. Applying a small amount of pomade along parted lines creates sharp visual grid boundaries, laying a clean foundation for flawless execution.

Idea 1: Classic Half-Up Cornrow Front with Back Box Braids

How to Create

Section the hair horizontally from ear to ear across the crown using a precise parting comb, securing the back section with a hair clip. Divide the front half into six to eight vertical rows, applying a light edge gel along each line to achieve razor-sharp parts. Begin cornrowing each front section from the front hairline toward the crown, using the feed-in method to gradually add synthetic extension hair until flat, even braids rest against the scalp. Secure the ends of these cornrows at the crown using a clear elastic band or tie them into the base of the back sections. Next, unclip the rear hair and partition it into a uniform grid of square or triangle shapes. Install traditional or knotless box braids across the entire back section using matching copper or natural-toned extensions, maintaining consistent tension to ensure a smooth transition where the two braid styles meet at the crown line.

Idea 2: Side-Swept Lemonade Cornrows with Cascading Rear Box Braids

Step-by-Step Guide

Establish a deep side part above one eyebrow and direct all cornrows in a sweeping diagonal curve across the front of the scalp toward the opposite shoulder. Feed small pieces of extension hair into each curved scalp row, keeping the braids tight to the head and maintaining uniform spacing between parallel lines. Allow the ends of these sweeping cornrows to fall freely over one side of the chest, creating a bold asymmetry across the face. For the remaining back and opposite side sections, divide the natural hair into clean medium-sized box parts. Braid the extension hair down the entire length of these individual sections, ensuring the thickness matches the loose tails of the front cornrows. Seal all ends by dipping them into boiling water for ten seconds, then apply a lightweight sheen spray across the side-swept cornrows to emphasize the flowing geometric lines.

Idea 3: Geometric Triangle Parting Cornrows Blended with Box Plaits

Setup Method

Create a high-contrast scalp layout by partitioning the front crown into sharp, intersecting triangle shapes rather than traditional straight rows. Feed small, equal strands of braiding hair into these angled scalp sections to create bold geometric cornrows that converge toward a central point on the head. Ensure the apex of each triangle remains clean by using a small pomade brush to tame stray flyaways along the scalp lines. Transition into the lower crown and nape sections by creating matching triangle-shaped bases for the box braids. Install three-strand box plaits on each triangular section, using firm finger pressure near the root so the braids lay flat before cascading downward. This architectural arrangement creates dynamic visual interest from every angle, making it an ideal creative project for showcasing precision parting skills while keeping hair neatly protected.

Idea 4: Feed-In Halo Cornrows Circling a Box Braided Crown

Execution Process

Map out a circular perimeter around the hairline, leaving a round section of natural hair isolated directly in the center of the crown. Braid two thick halo cornrows along the outer perimeter, starting from the center forehead and curving around each side to meet at the nape of the neck. Gradually feed extension hair into these outer cornrows to build a smooth, elevated rim that neatly frames the entire face. Move to the isolated center circle, sectioning it into a neat honeycomb or square grid. Install long, individual box braids within this central section, allowing them to rise slightly from the roots before falling backward over the halo ring. The contrast between the sleek perimeter cornrows and the dense, full box braids in the center creates a balanced silhouette that holds its structure exceptionally well during daily wear.

Idea 5: Symmetrical Center-Part Goddess Cornrows with Curls and Box Braids

How to Make

Establish a crisp central part down the middle of the scalp, extending from the forehead back to the midpoint of the crown. Create three symmetrical cornrows on each side of the central line, directing them straight back while feeding in extensions for a smooth, flat finish. As you braid each cornrow toward the back, periodically insert small strands of pre-curled synthetic or human hair, leaving wavy tendrils hanging loose from the scalp lines. Once the front cornrows reach the crown, transition the rest of the head into classic box braids, continuing to add loose curled tendrils along the length of each individual plait. This goddess-inspired combination provides dense volume and soft texture, transforming standard box braids into a multi-dimensional aesthetic statement. Finish by setting the straight braided sections with warm water, carefully avoiding the loose curled strands to preserve their spiral shape.

Idea 6: High Ponytail Fulani Cornrows with Hanging Extension Box Braids

Installation Procedure

Design a traditional Fulani layout by cornrowing the top section from the forehead directly back toward the crown, while braiding two side cornrows forward over the ears. Add a central cornrow down the exact middle of the head for alignment, decorating its length with small metallic beads or hair rings. Gather the ends of all top cornrows at the highest point of the head and secure them firmly into a base ponytail anchor. Install medium-sized box braids across the entire back half of the head, ensuring they hang freely down the back to provide maximum length and movement. Gather the top cornrow ends and a few front box braids together, wrapping them tightly around the ponytail base to form a tall, dramatic bun or elevated pony. This dynamic setup highlights precise front scalp detail while maintaining full, flowing length through the rear box braids.

Idea 7: Zig-Zag Scalp Cornrows Merging into Waist-Length Box Braids

How to Create

Trace a continuous zig-zag pattern across the front scalp using a metal tail comb, creating distinct alternating angular sections instead of straight lines. Feed extension fibers tightly into these angled rows, following the sharp directional turns of the partings to emphasize the energetic scalp pattern. Ensure that each zig-zag cornrow stays close to the head to maintain clean line definitions against the scalp. At the crown, stop the scalp cornrowing process and allow the remaining hair lengths to extend into long, three-strand box braids. Section the rest of the scalp into matching medium squares and complete the installation using waist-length extensions. The dramatic transition from sharp, angular scalp rows to long, vertical box braids gives this style a modern design appeal that stands out in photos and daily presentation.

Idea 8: Asymmetric Diagonal Cornrow Accent with Oversized Box Braids

Step-by-Step Guide

Partition off a small three-inch section on one side of the head, keeping the remaining eighty percent of the scalp reserved for large box braids. Create three to four thin, diagonal cornrows within this small side accent panel, feeding in micro-strands of extensions so the braids remain delicate and flat against the temple. Direct these accent rows toward the back of the ear and secure their ends neatly beneath the larger hair sections. Divide the rest of the natural hair into large, chunky square sections to create jumbo box braids using thick extension bundles. The stark scale contrast between the delicate, detailed side cornrows and the voluminous jumbo box braids creates a striking, balanced visual focal point. Apply edge control gel along the temple hairline to polish the small cornrows and keep the exposed scalp lines looking crisp.

Idea 9: Crossed Front Scalp Cornrows with Nape Box Braids

Setup Method

Divide the front crown into four equal quadrants, using a rat-tail comb to create a cross shape on top of the head. Begin cornrowing from the front left hairline, directing the braid diagonally across the scalp to the back right crown quadrant. Repeat this process from the front right hairline to the back left, weaving the second cornrow directly over the first at the center intersection to form a clean, raised cross pattern. Secure the ends of these crossing cornrows at the crown level. Next, partition the entire back half of the head from ear to ear into a traditional square grid pattern. Install individual box braids on all lower sections, allowing them to hang past the shoulders. This structured intersection of front cornrows provides an eye-catching focal point that elevates simple nape box braids into an artistic, custom installation.

Idea 10: Two-Tone Colored Cornrows Transitioning into Ombre Box Braids

Execution Process

Select two contrasting extension shades, such as a dark natural tone for the scalp base and a vibrant copper or golden blonde for the length extensions. Install small feed-in cornrows across the top half of the scalp, starting with the natural dark hair extensions at the hairline and gradually introducing the lighter accent color as the braid moves toward the crown. Continue this color transition technique when installing the individual box braids on the back half of the head, creating a seamless ombre effect from roots to ends. Ensure that the color blending ratio remains consistent across both the scalp cornrows and the loose box braids so the entire hairstyle looks unified. Dip the finished ends in boiling water to seal the synthetic hair, then apply a rich scalp oil along all exposed parts to highlight the vibrant color play against the scalp grid.

Common Beginner Mistakes and How to Avoid Them

Creating hybrid styles with cornrows and box braids presents unique challenges that can lead to common installation errors if not planned carefully. One frequent mistake is pulling too tightly on the scalp edges when starting cornrows, which causes painful tension bumps and potential hair loss along delicate hairlines. To prevent this, keep root tension moderate and rely on smooth finger positioning and pomades rather than pulling force to create neat lines. Another common error involves inconsistent parting sizes, leading to unbalanced braid thickness between the cornrow tails and the standalone box braids. Always measure sections using comb teeth as a physical reference guide before adding extensions. Finally, failing to tuck natural hair completely inside the synthetic fiber during the box braiding phase leaves natural ends exposed to friction and unraveling. Applying a small amount of holding jam to natural ends keeps them smooth and securely enclosed within the extension strands.

Practical Tips for Better Results

Achieving professional, long-lasting results with cornrows and box braids relies on applying smart preparation techniques and maintenance habits. Always use pre-stretched synthetic braiding hair to ensure natural, tapered ends that seal effortlessly when dipped in boiling water. When mapping out scalp parts, wipe away excess gel frequently with a damp cloth to keep lines clean and free of sticky residue. To preserve scalp health throughout the duration of the style, apply a lightweight tea tree or peppermint oil directly onto exposed part lines every few days using a droppers. Sleep with a satin bonnet or long silk scarf wrapped firmly around the head every night to prevent friction, control flyaways, and keep the cornrowed sections lying flat against the scalp. These simple daily practices maintain the freshness of the geometric parts and extend the wearable lifespan of the hairstyle by several weeks.

Styling, Presentation, or Organization Ideas

The structural versatility of combining cornrows with box braids allows for numerous creative daily presentation options. Gathering the loose rear box braids into a high, swept-back ponytail emphasizes the detailed scalp cornrows in front, while leaving the braids down creates a classic framed face silhouette. Decorating the front cornrows with gold cuffs, silver thread, or clear wooden beads provides an instant elevated touch suitable for formal events or editorial photos. Organizing hair accessories in a clear, divided storage box allows for quick morning selection and styling adjustments. For a chic half-up look, twist the top cornrow ends into a compact top-knot bun at the crown while allowing the lower box braids to cascade over the shoulders. These easy styling variations allow a single installation to adapt smoothly to various social settings and wardrobe choices without requiring complete restructuring.

Budget or Time Planning

Executing a clean hybrid braid installation requires realistic time allocation and straightforward financial planning to ensure success. Purchasing four to six packs of pre-stretched synthetic braiding hair, basic parting combs, and edge control products represents a very modest financial investment compared to professional salon service rates. In terms of time management, expect a complete installation to take anywhere from four to seven hours depending on braid length, thickness, and parting complexity. Beginners should divide the project into manageable phases, such as completing hair washing, drying, and parting preparation the evening before the actual braiding session. Allocating specific time blocks for cornrowing the scalp first, followed by installing the rear box braids, prevents fatigue and ensures consistent quality throughout the process. Proper time planning eliminates rushing, resulting in tighter parts, balanced tension, and a comfortable installation experience.

Creative Expansion and Advanced Inspiration

Once fundamental cornrow and box braid techniques are mastered, endless creative expansion possibilities open up for advanced styling experimentation. Try incorporating intricate curved, snake-like, or heart-shaped cornrow designs on the sides of the head to frame simple back box braids with artistic flair. Advanced braiders can experiment with multi-color color blocking, placing vibrant copper or pastel extensions exclusively within the scalp cornrows while keeping the box braids a neutral dark tone. Another elevated approach involves blending varied textures, such as pairing smooth feed-in scalp rows with messy, bohemian-style textured box braids featuring loose curly ends. Adding structural hair wraps, metallic cord threading, or custom bead arrangements along individual braid tails further personalizes the aesthetic. Continuously experimenting with new scalp geometry and color combinations keeps protective styling exciting, functional, and visually dynamic over time.

Similar Posts

Leave a Reply

Your email address will not be published. Required fields are marked *