10 DIY Jewelry Organizer Ideas
Keeping jewelry neatly organized protects delicate pieces, reduces tangles, and makes everyday accessorizing faster and more enjoyable. DIY jewelry organizers offer a practical way to store necklaces, bracelets, rings, earrings, and watches while adding decorative value to bedrooms, dressing rooms, and closets. Instead of purchasing expensive storage solutions, handmade organizers can be customized to fit available space, personal style, and jewelry collections of every size. This Pinterest-style guide introduces ten beginner-friendly DIY jewelry organizer ideas that combine attractive home decor with efficient organization. Each project includes clear instructions, practical setup methods, and styling suggestions that help create long-lasting storage solutions. You will also learn how to prepare materials, avoid common crafting mistakes, manage project costs, and arrange finished organizers for maximum convenience. Every idea focuses on simple construction, realistic techniques, and stylish presentation suitable for modern homes.
Why DIY Jewelry Organizers Are Trending
DIY jewelry organizers continue to rank among popular Pinterest ideas because they combine organization, creativity, and personalized design. Many people own growing jewelry collections but lack efficient storage that prevents tangles, scratches, and misplaced accessories. Handmade organizers solve these problems while allowing colors, materials, and layouts to match existing bedroom or closet decor. Most projects require only basic crafting skills, making them accessible for beginners interested in practical DIY tutorials. Recycled materials such as picture frames, wood, fabric, and glass containers can also be transformed into elegant organizers, reducing unnecessary waste. These projects improve both storage and room aesthetics while encouraging thoughtful planning and efficient use of space. Their affordability and versatility explain why jewelry organization remains a favorite creative project across Pinterest and home organization communities.
Materials and Preparation
Careful preparation ensures every jewelry organizer functions properly and complements the surrounding decor. Gather wooden boards, picture frames, wire mesh, corkboard, fabric, felt, small hooks, decorative knobs, glue gun, wood glue, screws, drill, hammer, ruler, measuring tape, paint, paintbrushes, sandpaper, ribbon, twine, recycled jars, trays, drawer dividers, and labels if needed. Measure the available wall, drawer, or tabletop space before selecting project dimensions. Decide whether the organizer will store necklaces, rings, bracelets, earrings, or a combination of accessories. Sand wooden surfaces before painting, and organize all tools in advance to reduce interruptions during construction. A consistent color palette and coordinated materials help create an attractive handmade organizer that blends naturally with modern home decor while remaining highly functional.

Framed Wire Mesh Jewelry Display
How to Create
Transform an old picture frame into an elegant wall-mounted jewelry organizer using decorative wire mesh. Remove the original glass and backing before cutting a piece of wire mesh to fit the frame securely. Attach the mesh using staples or strong adhesive while ensuring it remains tight and flat. Paint or stain the frame to coordinate with the surrounding bedroom or closet decor. Hang earrings directly through the mesh openings while adding small hooks along the bottom edge for necklaces and bracelets. Position the organizer near a vanity or dressing area where jewelry remains easily accessible. This beginner-friendly project combines practical organization with decorative wall art, allowing jewelry to become part of the room’s aesthetic while preventing tangled accessories.

Wooden Necklace Hook Board
Step-by-Step Guide
Create a simple wooden display board designed specifically for necklaces and longer accessories. Sand a wooden plank until smooth before painting or staining it according to your preferred style. Install decorative hooks at evenly spaced intervals, leaving enough room for necklaces to hang freely without overlapping. Mount the board securely to the wall using appropriate hardware. Arrange necklaces by length, color, or frequency of use for improved organization and visual balance. Decorative lettering or subtle painted borders can personalize the design while maintaining a clean appearance. This easy project protects delicate chains from knots while creating an attractive display suitable for bedrooms, closets, or dressing rooms.

Tiered Jewelry Tray
How to Make
Build a tiered jewelry organizer using decorative plates and candle holders secured together with strong adhesive. Begin with the largest plate at the bottom before stacking smaller plates above using centered candle holders as supports. Allow the adhesive to cure completely before placing jewelry on each level. Store rings, bracelets, watches, and brooches on separate tiers to improve accessibility and organization. Choose matching ceramic or glass pieces to create a cohesive appearance that complements modern design. Position the finished organizer on a vanity, dresser, or bathroom counter where frequently worn accessories remain within easy reach. This handmade project combines elegant presentation with practical storage while requiring only basic assembly techniques.

Fabric Ring Storage Roll
Setup Method
Sew a compact fabric roll designed to protect rings during everyday storage or travel. Cut two matching fabric rectangles before adding soft batting or foam for cushioning. Stitch evenly spaced padded channels across the fabric where rings will slide securely into place. Attach ribbon ties or fabric straps that keep the organizer closed when rolled. Neutral linen or cotton fabrics create a timeless appearance, while patterned textiles add personality to the finished project. This beginner-friendly organizer prevents rings from scratching one another while remaining lightweight and portable. Its compact design makes it ideal for drawers, handbags, or travel luggage.

Corkboard Accessory Wall
Execution Process
Convert a plain corkboard into a versatile jewelry organizer capable of storing multiple accessory types. Cover the corkboard with decorative fabric before stretching it tightly across the surface and securing it neatly at the back. Insert decorative push pins, hooks, or miniature pegs to support necklaces, bracelets, watches, and lightweight earrings. Arrange hooks according to jewelry length to prevent overlapping and tangling. Add labeled sections if organizing large collections by style or occasion. Mount the finished organizer inside a closet or above a dressing table where accessories remain visible. This creative project combines flexibility with attractive presentation while allowing the storage layout to change as your collection grows.

Mason Jar Jewelry Storage
How to Create
Repurpose glass jars into decorative storage containers for smaller jewelry pieces such as rings, earrings, brooches, and bracelets. Clean each jar thoroughly before painting the lids in coordinating colors or adding decorative wooden knobs for easier opening. Attach soft felt circles inside the jars to protect delicate items from scratches. Arrange matching jars on a wooden tray or shelf according to jewelry categories. Labels or handwritten tags simplify organization while maintaining a clean aesthetic. Transparent glass makes it easy to locate accessories without opening every container. This project combines practical storage with attractive home decor suitable for dressers, bathroom counters, or vanity tables.

Drawer Divider Jewelry Organizer
Step-by-Step Guide
Design custom drawer dividers that separate jewelry into organized compartments. Measure the drawer carefully before cutting lightweight wooden strips, cardboard panels, or acrylic dividers to fit precisely. Assemble the sections using interlocking joints or adhesive, creating compartments sized for different accessory types. Line the bottom with felt to protect jewelry from scratches while preventing movement. Store rings, earrings, bracelets, and watches in separate sections to improve accessibility and maintain order. Adjustable dividers allow future modifications as your jewelry collection expands. This practical project maximizes existing drawer space while keeping valuable accessories neatly protected from dust and damage.

Decorative Branch Jewelry Stand
How to Make
Create a nature-inspired jewelry stand using a carefully cleaned tree branch mounted onto a sturdy wooden base. Sand the branch lightly before applying clear protective finish to preserve its natural texture. Secure the branch firmly into the base using screws or strong adhesive while ensuring the structure remains balanced. Hang necklaces, bracelets, and lightweight earrings from the branch’s smaller extensions without overcrowding individual sections. Decorative stones or moss around the base provide additional visual interest while maintaining stability. This handmade organizer introduces natural materials into bedroom decor while serving as a functional display for everyday accessories.

Hanging Pocket Organizer
Execution Process
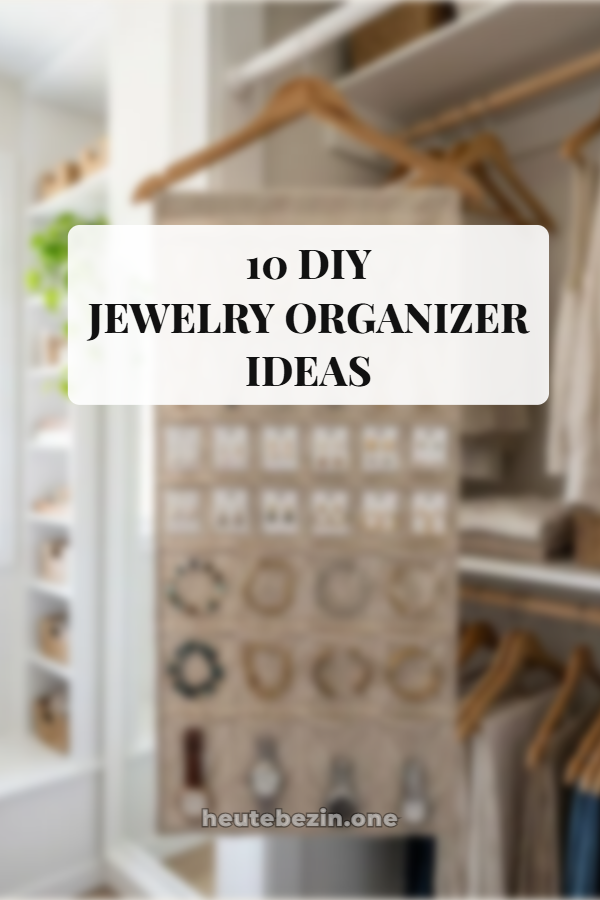
Sew a hanging organizer featuring multiple clear or fabric pockets designed to separate jewelry by category. Cut durable fabric for the backing before stitching evenly spaced pockets across the surface. Reinforce the upper edge with a wooden dowel or sturdy hanger for wall or closet installation. Transparent vinyl pockets allow quick identification of contents, while fabric pockets provide a softer appearance. Organize jewelry according to color, style, or frequency of use to simplify daily routines. This beginner-friendly project maximizes vertical storage while protecting delicate accessories from tangling and unnecessary handling.

Wooden Bracelet Display Stand
How to Create
Build a simple bracelet organizer using a smooth wooden dowel mounted horizontally between two sturdy supports. Sand every wooden surface before applying paint, stain, or clear finish according to your preferred style. Assemble the stand securely, ensuring it remains stable when fully loaded. Slide bracelets, bangles, watches, and elastic accessories onto the horizontal bar while arranging them by size or color for easier selection. Position the finished organizer on a dresser or vanity alongside matching jewelry storage pieces. This practical project keeps bracelets visible while preventing stacking inside drawers where they may become scratched or difficult to access.
Common Beginner Mistakes and How to Avoid Them
Many beginners underestimate the amount of space required for growing jewelry collections. Always allow extra storage capacity when planning compartments or hooks to accommodate future additions. Another common mistake is placing hooks too closely together, causing necklaces to overlap and tangle. Accurate measurements help maintain adequate spacing throughout every organizer. Beginners should also avoid rough unfinished wood or exposed wire edges that may scratch delicate jewelry. Soft felt liners and smooth finishes protect valuable accessories while improving overall appearance. Organizing jewelry by category before building the organizer helps determine appropriate compartment sizes and simplifies everyday use.
Practical Tips for Better Results
Choose matching colors and materials across multiple jewelry organizers to create a cohesive dressing area. Install organizers near mirrors or vanities where accessories are selected most often. Keep frequently worn pieces at eye level while storing seasonal or special-occasion jewelry in lower compartments. Use felt, velvet, or soft fabric to protect delicate surfaces from scratches. Clean organizers regularly to prevent dust accumulation and inspect hooks periodically to ensure they remain secure. Simple maintenance keeps handmade organizers attractive and functional for many years.
Styling, Presentation, and Organization Ideas
Thoughtful presentation transforms jewelry storage into decorative home decor. Arrange necklaces by length to create balanced displays, while grouping bracelets and rings by material or color for visual harmony. Pair wooden organizers with ceramic trays, mirrors, glass containers, and small plants to create elegant vanity arrangements. Neutral colors and natural textures complement modern design and minimalist style while allowing jewelry to become the focal point. Leave open space between displayed accessories to avoid clutter and maintain an organized appearance throughout the dressing area.
Budget and Time Planning
DIY jewelry organizers are affordable because many projects use recycled materials such as picture frames, jars, wood scraps, and fabric remnants. Begin with simple organizers like trays or jar storage before progressing to larger wall-mounted displays. Purchasing versatile supplies such as paint, hooks, and felt allows multiple projects to be completed using the same materials. Divide larger projects into measuring, cutting, painting, assembly, and styling stages to improve accuracy and overall quality. Careful planning minimizes waste while creating attractive organizers that remain useful as jewelry collections expand.
Creative Expansion and Advanced Inspiration
After mastering these beginner-friendly DIY jewelry organizer ideas, experiment with larger storage systems that combine mirrors, shelving, hidden compartments, and decorative lighting into one coordinated display. Build matching organizers for closets, vanities, and travel accessories using consistent colors and materials to establish visual continuity. Seasonal displays, interchangeable hooks, and modular storage sections allow organizers to evolve alongside changing collections. Save measurements and templates from successful projects to simplify future builds. Continued experimentation encourages creative ideas while producing elegant handmade organizers that combine efficient storage, attractive presentation, and lasting functionality.